Back to Learning Resources
Calibration
A quick guide to managing calibration. What is it? How often? What should be calibrated? Keeping records and what to do when your equipment fails calibration.
Tags:
What is Calibration?
Calibration is the process where you confirm that your measurements are true. This is usually done by measuring a standard and ensuring that the error is less than the requirement amount.
Take calibration of a scale for example. A standard weight is known to be 5.000g. Your measurement is 5.05g This means your error is 0.05g. Depending on the accuracy required, this may mean pass or fail. A required tolerance of +/- 0.02g means the scale has failed calibration. A tolerance of +/- 0.10g means the scale has passed. The tolerance of measuring equipment is set by the manufacturer, but is also determined by your process requirements.
A real calibration will test the measuring equipment over a range of measurements – either the full range of the instrument or the range over which it will be used.
Re-calibrate.
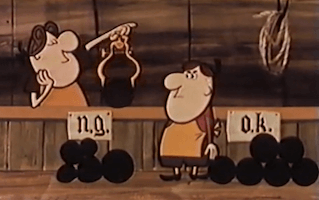
The image below is from a short video (~12mins) made many years ago by the US Navy on ‘Why Calibrate?’
The video covers why it is important to measure output (cannonballs, in this case), why you need to calibrate your measuring equipment, and some of the consequences of failing to do so. It also explains how calibrations are traceable back to a reference standard.

Equipment degrades over time and must be re-calibrated periodically.
Imagine that you have a simple go/no-go gauge to determine the conformance of an item.
Over time the gauge will wear, and will perhaps show more components as ‘good’. It might appear that production is improving, when in fact, the gauge is simply out of calibration. (The reverse is also possible, depending on the gauge.)
How often?
The interval between re-calibration is determined by a number of factors:
- manufacturer recommendations
- operating environment
- accuracy requirements
- how long the instrument historically stays ‘true’
What needs calibration?
Not all companies need to calibrate and for those that do, not everything will require calibration.
Obviously, if you don’t use measurement and test equipment (e.g. a labour hire company) then you won’t need to calibrate. These companies can claim an exception to this part of the standard if they are seeking certification to ISO 9001.
To determine which equipment must be calibrated, there are a number of things to consider:
- Is it required by the customer? e.g. In Australia, the Civil Aviation Safety Authority (CASA) requires calibration of all equipment used to determine whether a component satisfies requirements for return to service.
- Is it required by the product specifications? e.g., If measurements must be within tolerances, then you will need to calibrate your equipment to be sure that your measurements are true.
- What are the consequences of the measurements being wrong? e.g., accepting bad components, processing returns, rework, rejecting good components, increasing the difficulty of further processes, unhappy customers, etc. These costs can far exceed the costs of calibration.
- What is the cost of calibration and repair compared to the cost of replacing the item? (Note that you will still need to control this equipment and have a way to determine when it is no longer serviceable.)
Where calibration is not required, it is usually good practice to mark the equipment as such.
Keeping records
When you do calibrate, it is important to check the certificate for the results. The receipt of a certificate does not necessarily mean the equipment is good. Some certificates clearly state a pass or fail result. However, others rely on you to decide the result, which depends on the accuracy you actually need. Our lead consultant, Ian Clark, recommends that each certificate be signed to verify that it has been checked prior to storage of the certificate.
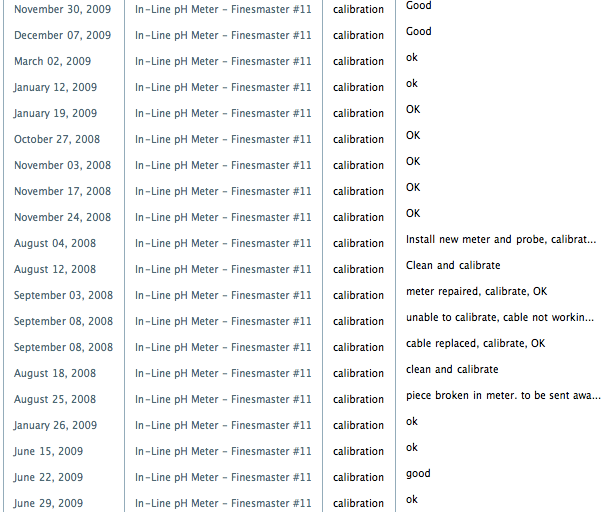
In some cases the storage method consists of shoving the certificate into a filing cabinet, never to be looked at again. However, having the calibration history more accessible can be valuable. This information helps you select the optimum calibration frequency, detect ongoing problems, and will reveal when equipment is reaching the end of it’s lifetime. This can be recorded on a paper ‘log’, spreadsheet or database.
In QSToolbox, measurement and test equipment is stored under the Assets section. Calibrations can be scheduled at the required frequency and appear on a central calendar. When maintenance or calibration work is performed, a record is added to the asset. Certificates and other documentation of the work can be uploaded and stored with the record. The history of the instrument is then easily accessible, and individual certificates can easily be retrieved. Here’s more on managing calibration using QSToolbox.

What happens when it fails?
When your equipment fails calibration it is a non-conformance. All the measurements since the last calibration are now suspect. The effects will depend on how critical the measurement is, how badly out of tolerance the equipment is, and how long since the last calibration. It may require corrective action such as re-measurement, rework, product recall.
In QSToolbox, this would be documented in the issue tracker as a non-conformance issue, and the corrective actions recorded as responses.